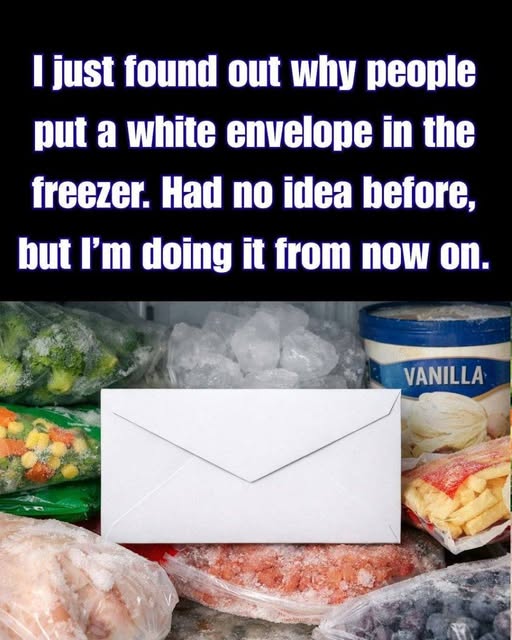
Important note: This only works on water-activated adhesives. Modern “peel-and-stick” envelopes use pressure-sensitive synthetic glues that laugh at freezer temperatures. If your envelope didn’t require saliva to seal, the freezer won’t help.
When It Works Best (And When It Won’t)
✅ Your odds improve if:
→ The envelope uses classic lick-and-seal adhesive (matte finish, not glossy tape-strip)
→ It was sealed recently (within 24–48 hours)
→ You applied just enough moisture—not a soggy drench
→ The paper is substantial (not tissue-thin or foil-like)
❌ It likely won’t work if:
→ It’s a peel-and-stick envelope (common on utility bills or pre-paid return mailers)
→ You pressed the seal with excessive force (glue seeped deep into fibers)
→ Days or weeks have passed (bond has fully cured)
How to Do It Right (Without Ruining Everything)
see continuation on next page
Discover more
Mailbox solutions
Office supplies
glue
How to Do It Right (Without Ruining Everything)
Bag it first
Slide the sealed envelope into a resealable plastic bag. Why? Prevents condensation from dampening ink or warping paper when removed from cold.
Freeze gently
Place in freezer for 60–90 minutes. Not overnight—prolonged cold invites moisture buildup.
Thaw with care
Remove envelope (still in bag). Let sit at room temperature for 2–3 minutes until the exterior feels cold but no longer frosty. Never open while icy—condensation will smudge ink.
Peel with patience
Start at one corner. Use your thumbnail or a butter knife to gently lift the flap. Work slowly, applying minimal pressure. If resistance appears, stop. Forcing it guarantees tears.
Accept the limits
Some seals won’t release—and that’s okay. Better a intact envelope than a shredded one.